Eventrac News
Adding Merchandise to your Event
Adding Merchandise to your Event

If you have race t-shirts, club kit, sponsored clothing items or more, you can create a shop and sell all your items all within your Eventrac account. Here are the step you need to take to add products to your event and create an event shop.
Step 1: Click on ‘Add New Product’ on the left-hand column of your dashboard.

Step 2: Add the details of your product
Fill in your product details and the maximum order quantity

Step 3: Choose a Maximum order quantity strategy
Here you can choose the maximum amount of items you can allow your entrants to order. In the following drop-down box you can choose whether you would like this maximum to apply to each event, or if you would like this to be the combined maximum for series entries. This will limit how many items an entrant can buy if they have already purchased one or more through one of your other series races.

Step 4: Choose the priority you want to give this product.
This means how high you want it to display in comparison to your other items.

Step 5: Describe your product type

Select between ‘one variation’ or ‘multiple variations’. A product with only one variation could be a water bottle or a medal, for example. Whereas a T-Shirt could have multiple variations, such as different colours, sizes and/or materials.
Step 6: Add your pricing options
Here you need to enter how much you would like your product to cost, a low inventory threshold amount and a choose optional fees for your customer.

Step 7: Add optional delivery fees

Step 8: Add your product to the events and membership clubs which you would it to be accessible on.

Submit your product when you are done!
Step 9: Choose your item variations (if applicable)
If you selected ‘this product has multiple variations’ in step 5, here you can choose between size, colour, or create your own custom attributes for your product.

By clicking on the attribute, you can edit their names and determine the number of options you would like to have.

Step 10: Add a product image

Your image will then appear, with a ‘Delete’ button to its right if you need to remove it and start again.

Step 11: Choose your Stock Keeping Unit quantities
Typically, an SKU is associated with any purchasable item in a store. For example, a woman's blouse of a particular style and size might have an SKU of "3726-8," meaning "Style 3726, size 8." The SKU identification for a product may or may not be made visible to a customer.

Here you can see an example of the automatically generated SKU’s. You can edit, manage or remove them from here.

To view your finished product, navigate back to ‘merchandise’ on the bar on your left. Here you can click ‘View all Products’ and see your final product.
Optional Step 12: Add your product(s) to your shop
If you want your product to be visible to everyone, rather than just through the entry form of your chosen events (as shown in step 8), you can create a shop for your product(s) to appear on your event pages. This will group your products together in one area.


View your shop on your event page!


Recent News Posts
-
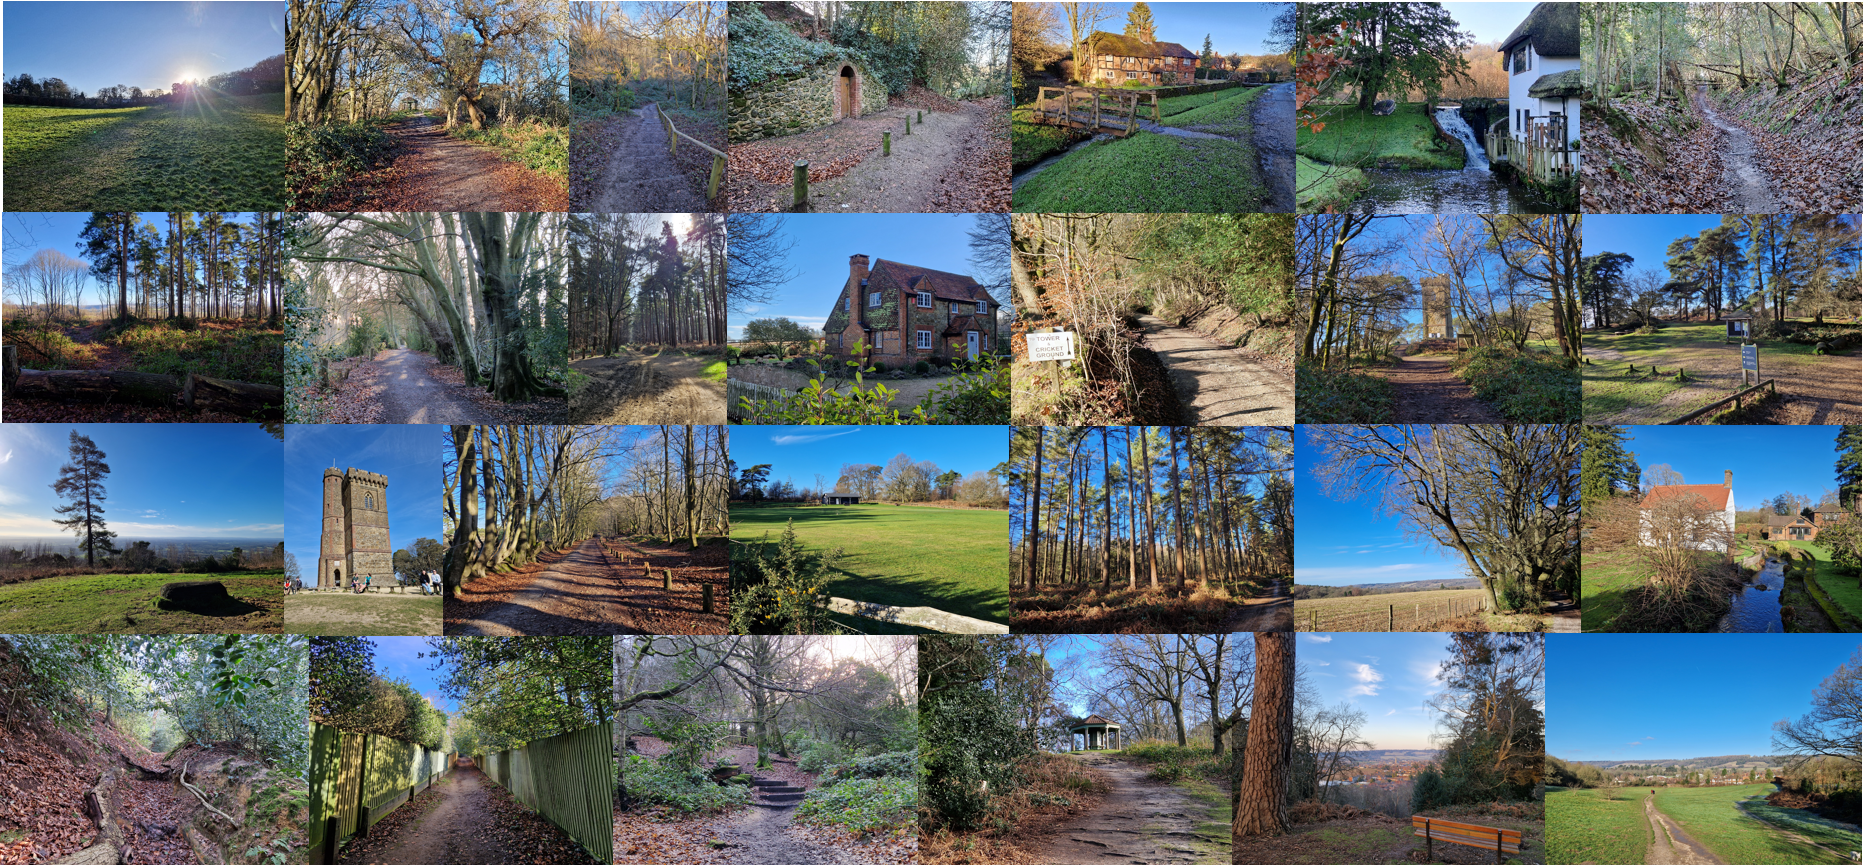
The Leith Hill Half Marathon Route In Photos
19/01/2026, 17:47
-
02/01/2026, 15:16
-
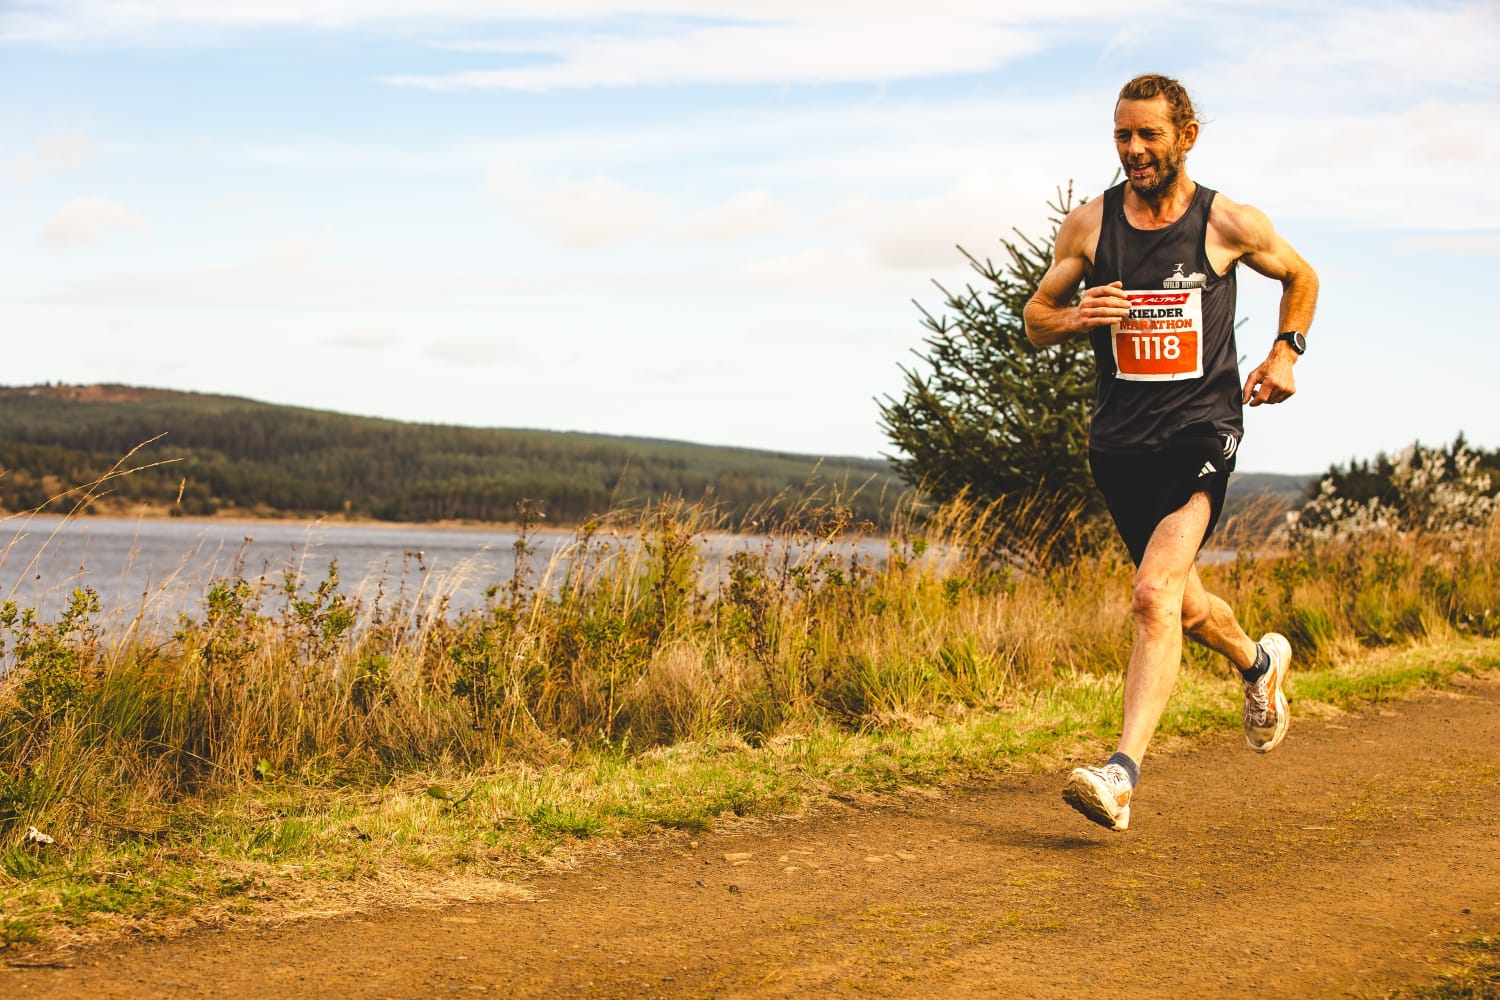
Finding a different path to the Kielder Marathon
01/12/2025, 22:09
-
The First-Ever New Forest Triple Series – What a Year!
28/10/2025, 13:06
-
Rugby: Where ellipsoid dreams came from
22/10/2025, 06:39
Tag
On Hand To Help
The team at Eventrac are on hand to assist with all components of your event. From advice on promoting your event through low cost channels such as social media, to a guided tutorial on a specific feature of Eventrac. We are here to help.