Eventrac News
Styling your Event Pages
Styling your Event Pages

Styling your event pages properly will ensure your event information is displayed well on them, they represent your brand accurately and they look how you want them to. Here we will show you how to style them in different ways so that you can edit them accordingly.
Step 1: Find the event you want to edit
Go to your main dashboard and click the blue ‘Manage’ on the right of the event you want to edit.

Step 2: Select ‘Edit Details’ on the second banner at the top.

Step 3: Edit the Description
Once you’ve added the name of the event, you can add a description and format it.

You can add a link to your text if you would like to add another website, training tip blog or an extra link to your social pages. Simply click on the link button and the pop up shown below will come up. Type in your link, and by clicking on the ‘Target’ tab you can choose how your link is displayed on your event page. Click OK when you are done.

You can also add an image to your page by clicking on the image button. If you have the image readily available on your computer, the easiest way to do this is by uploading it. Once your image name comes up next to the ‘Choose File’ button, click ‘Send it to the Server’. You can also add an image URL instead, by going to the Link tab at the top of the pop-up.

You will be prompted to upload the image and then taken to the image info tab. Here you can edit the sizing so that it fits with your text.

Once you are done editing it, click OK.
Step 4: Add the event location
Although this is optional, its important to your attendees and can avoid having to reply to questions from potential participants.

Step 5: Add Terms and Conditions
Make sure these are robust and you are happy with them before you make your event live. Above this, you can add the max number of entries you can have for your event, which you can choose to hide from other entrants. The enable feedback tick box should be checked if you would like participants to be asked for feedback automatically after your event has ended.

Click submit when you are happy with your information and this will save your details.
Step 6: Edit your cover photo and profile image
By scrolling back to the top when you’re done with your event details and text, select the ‘Appearance’ tab. Here you can change your cover image to be a static picture or a video, as well as your profile image- this is usually your event logo. By scrolling on the right-hand side you can preview your event page. To get a full preview, you can click on the preview button at the top.

To upload a video as your background, add a link to your video URL, such as a youtube link.

Add a video:
You can also add a video separately, by selecting the ‘video’ tab at the top.

Recent News Posts
-
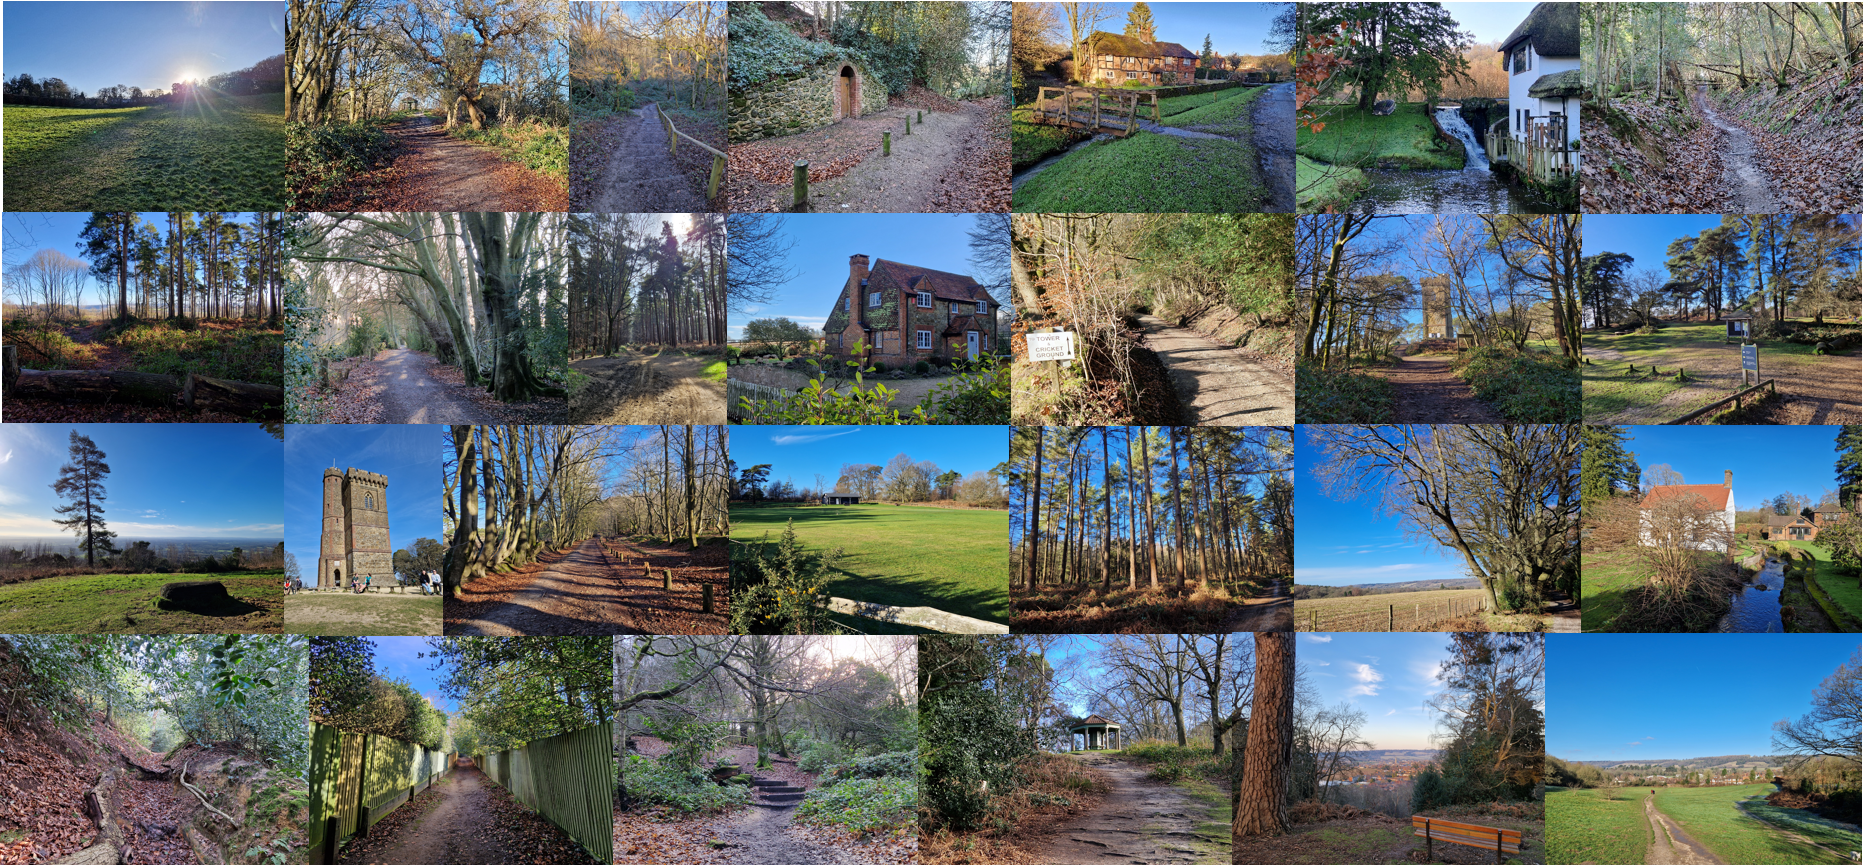
The Leith Hill Half Marathon Route In Photos
19/01/2026, 17:47
-
02/01/2026, 15:16
-
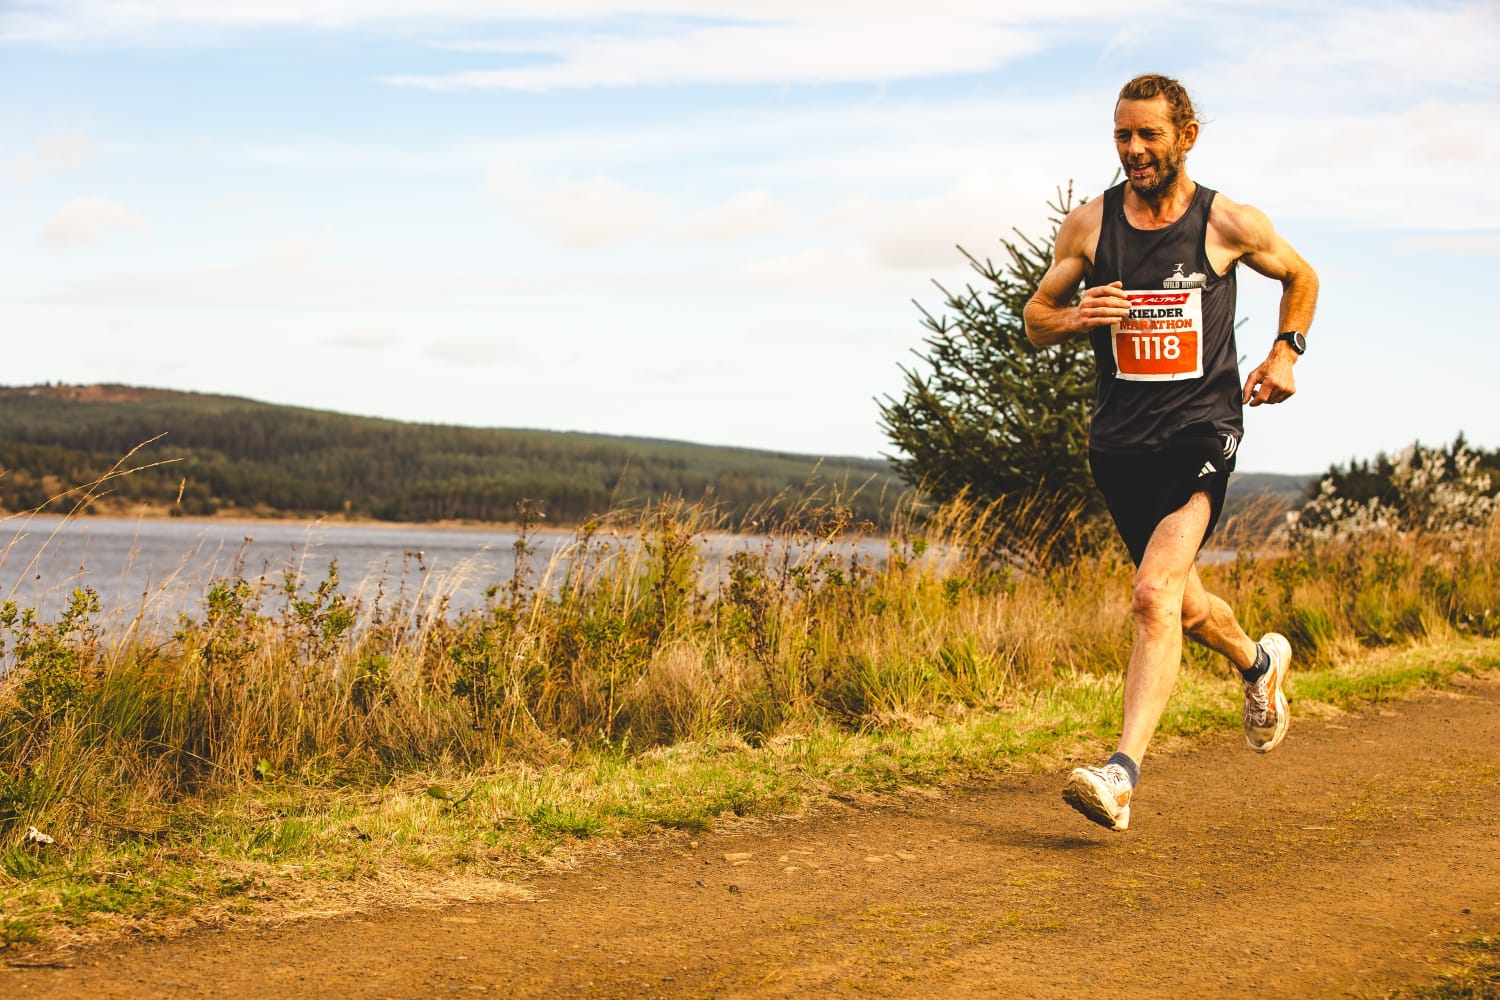
Finding a different path to the Kielder Marathon
01/12/2025, 22:09
-
The First-Ever New Forest Triple Series – What a Year!
28/10/2025, 13:06
-
Rugby: Where ellipsoid dreams came from
22/10/2025, 06:39
Tag
On Hand To Help
The team at Eventrac are on hand to assist with all components of your event. From advice on promoting your event through low cost channels such as social media, to a guided tutorial on a specific feature of Eventrac. We are here to help.